Learn to use Simple Card Maker
Simple card maker was born from the simple idea of making a deck of cards in a CSV file so it can be easily changed and updated without altering all the cards in your game.Imagine the very real problem of deciding on a wording change for a card, but your cards are all saved png files, now you have to either remake the altered card, or find a way to alter the text without skewing the background. If you are photoshop savvy, you may think this is easy.
Now let's imagine we want to change the background or a boarder image for all the cards in a deck. Altering every photoshop file or altering all the cards one at a time is tedious and time consuming.
Enter Simple Card Maker.
With this easy to use lightweight software you can simply change the image or text of the piece you need to change, reprint your cards with one click, and your deck is now up to date.
Let's learn how to use the software.
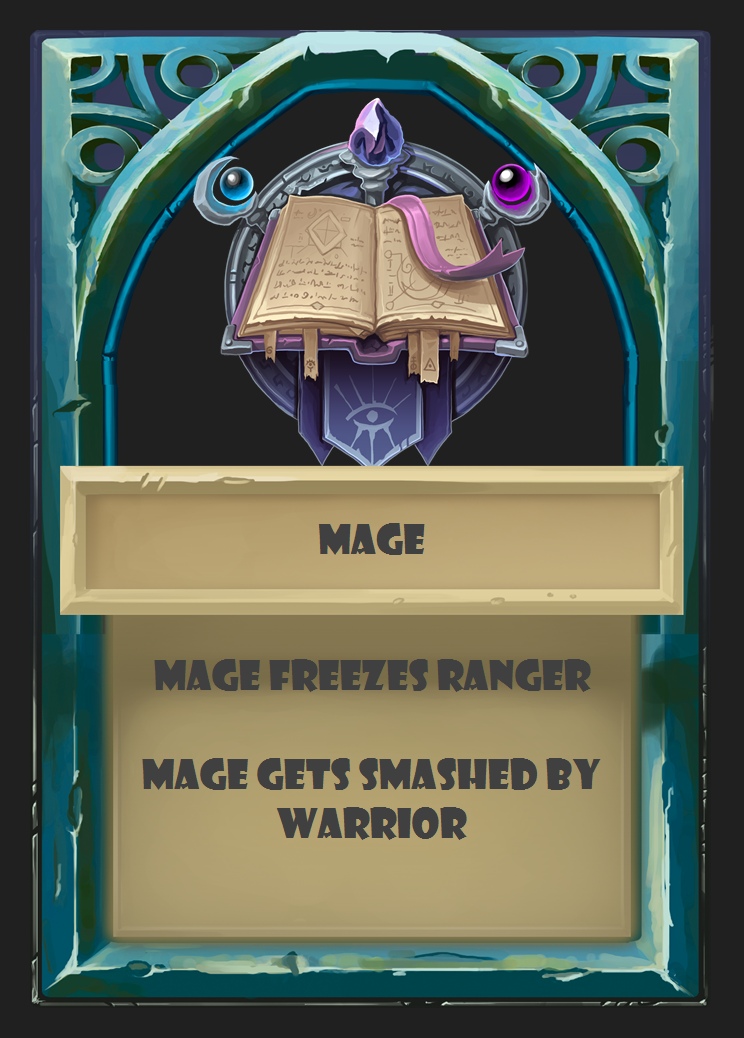
For learning purposes, we are going to make a deck of just three cards. When you have completed this tutorial, you will know how to create any card template your imagination can come up with, save it as a template, create a deck using that template, and print it to images or to actual paper cards.
You will also have a simple ro-sham-bo style game to play around with.
Let's begin with this deck:
 |
 |
 |
Step 1: Download stuff
You will need to download Simple Card Maker and, for this tutorial, you will also need these images. Normally, you would provide your own images for your cards... but this is a tutorial after all.Step 2: Set up your working folder
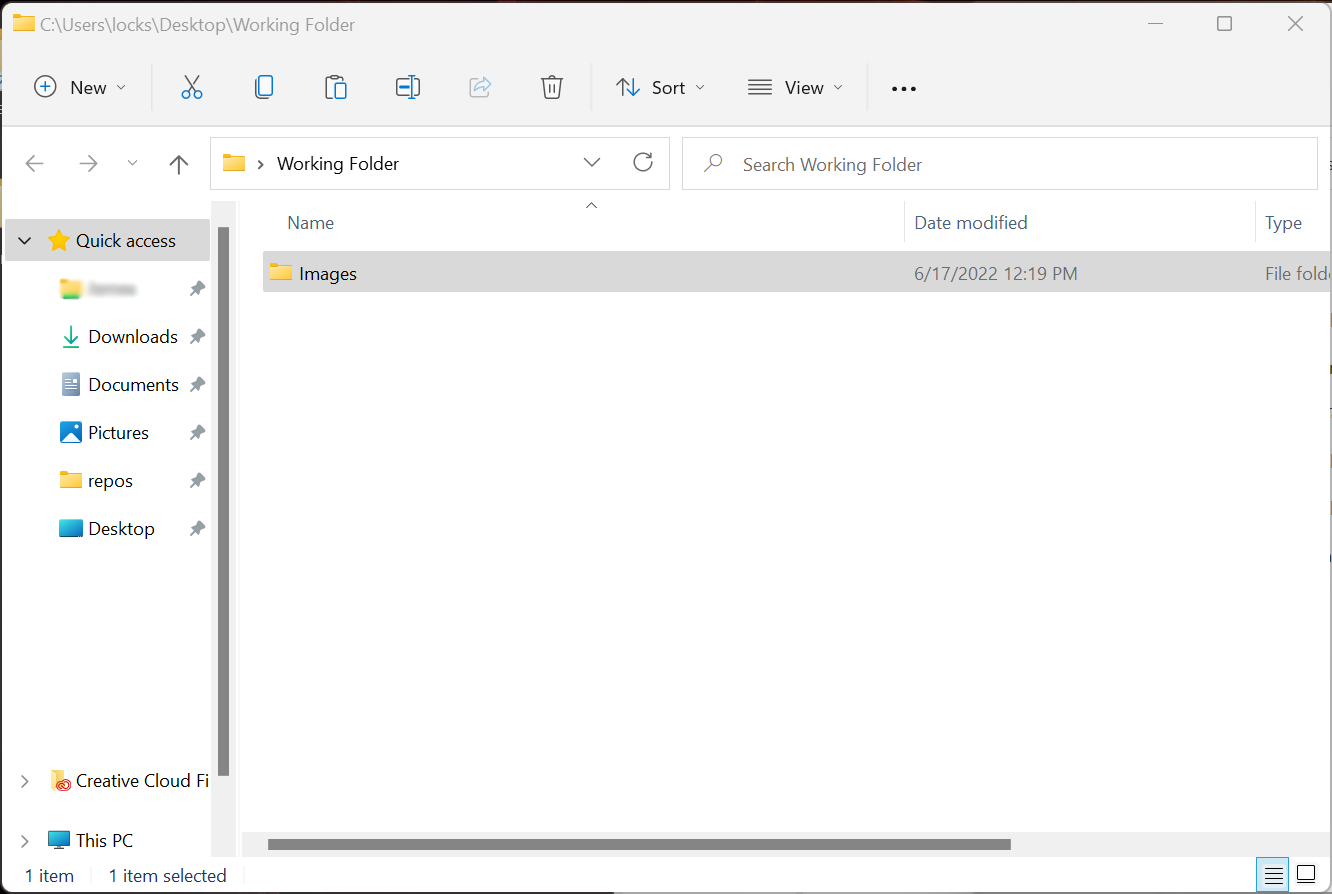
Unzip the SimpleCardMaker.zip wherever you would like. I keep mine in a folder under C:\Program Files\LSADevelopment with all the other tools I use from this site, but you can put it anywhere. It is a self contained .exe file, so it is quite portable.You will also need to unzip the SCM_Images file and make a working directory where you will create your deck of cards. I slapped mine right on my desktop, and tossed the Images folder in it:
Step 3: Make your card template
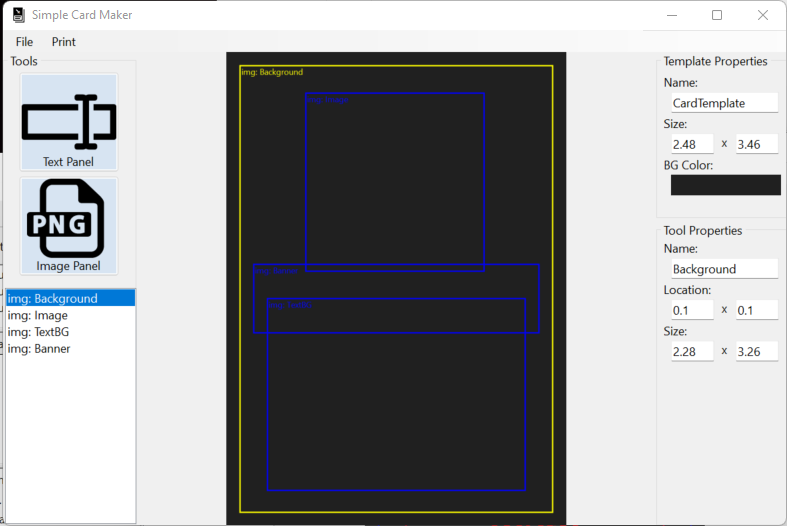
Now, go ahead and open up Simple Card Maker: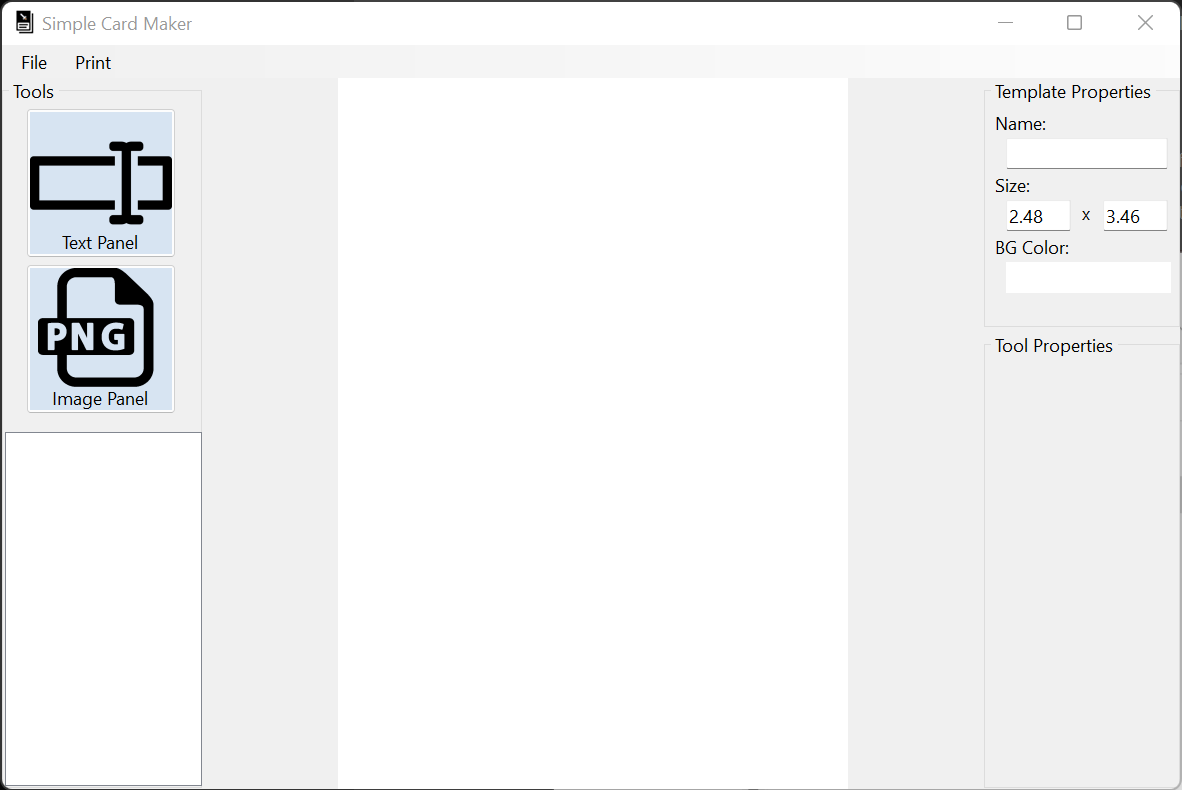
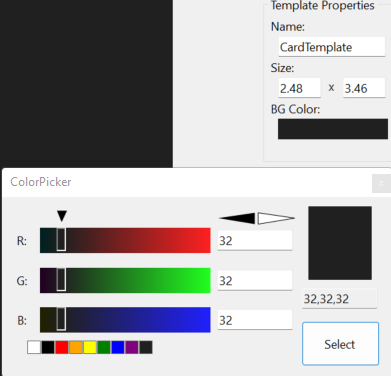 |
The first step in making a template, is filling out the cards Name, Size, and BG Color. The Name can be anything unique, for this tutorial, call it CardTemplate. The Size does not need to be changed. It is the standard size for normal playing cards. This size is measured in inches, sorry metric users. The BG Color is the base color for your card. If you are printing temp cards on paper, use white to save printer ink. This color really shouldn't be visible much except for the boarder around the edge of the card. Pokemon Cards have a yellow boarder, this is the area you would set that. To change the BG Color, double click the white box under the "BG Color:" label. For this tutorial, lets set it to a nice dark gray, put 32 in the red, green, and blue fields. Bleed surrounds the image with a boarder of the background color for professional printing, you can set this to 0 if you aren't sending it off to a printer. It only effects the Print to PNG style of printing. |
There are only two elements to consider when making a card; Images and Text.
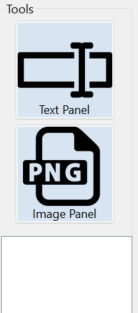 |
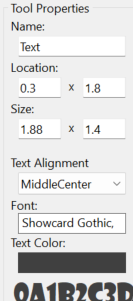
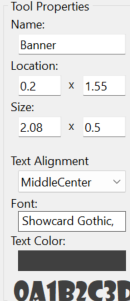
The Text Panel tool can add text to your card. It has the following properties: Name, Location, Size, Text Alignment, Font, Text Color |
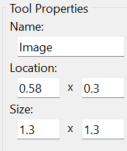
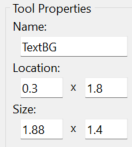
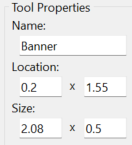
| The Image Panel tool can add an image to your card. It has the following properties: Name, Location, Size |
|
| The Tool List panel allows you to select which tool you wish to edit. Tools are printed on your card from top to bottom of the Tool List. So text should always come after images, or you may cover the words of your card. |

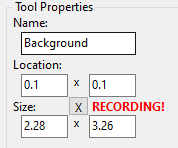 |
You can use your mouse to set the Location and Size by clicking and dragging in the main card window. You can only do this when the RECORDING! is visible. The [X] button in the middle of the Location and Size fields will start RECORDING!. RECORDING! is also started any time you add a new tool. Make your Tool Properties for this Image Panel look like this, and you should now see the img: Background box takes up nearly all of your card, leaving a nice boarder for bleedover between cards. |
Make your template look like this:
Halt! Only move on when you think you got all your image panels finished.
| Good, I hope you tried that on your own. Here is what I came up with: | ||
 |
 |
 |
This is where the Text Panel button comes in.
Go ahead and give it a click... twice.
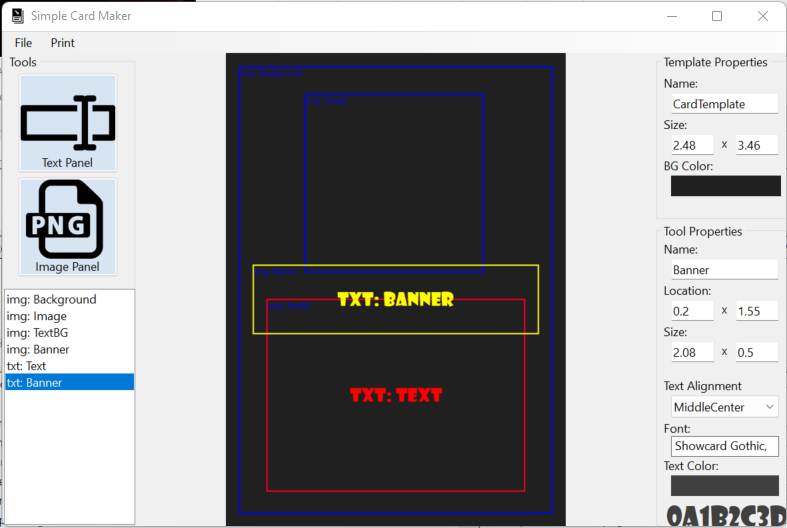
With two new text panels, what we really want is for these two text panels to cover the img: Banner and the img: TextBG exactly.
| Like this: | ||
 |
 |
|
With our final template looking like this:
All that is left to do is go to File > Save Template, and select your working directory to save your new CardTemplate.card file.
Step 4: Make your deck CSV
Finally, we finished our template! That wasn't so hard. Now let's move on to outlining the cards for our deck.To make a blank CSV, click File > Create Blank CSV.
Save it to your working directory, and name it "RogueMageWarrior".
Now, you can open the newly created RogueMageWarrior.CSV in Excel (or any spreadsheet software, or even notepad if you are comfortable working with csv files)
After expanding your columns, you should have a file that looks like this:

Each row (after row 1) represents a card that will be printed for your deck.
Now, I'll explain the columns in greater detail:
| A super simple column that tells the print functions weather or not to print this card. The only value that will print is a 1. If you do not put a 1 in this column, the card will not print. | |||||||||||||||
| Relative Template Location | This column should contain the location of the Card Template. We just made one, so we can go ahead and put the relative location here. Assuming, you put both the template and the csv in your working directory, all you need to do is put "CardTemplate.card" here. |
||||||||||||||
| Card Name | This one is pretty self explanitory, just put the name of this card here. This column is only relivant when Printing To PNGs, because when Printing To Paper, you will never see it. |
||||||||||||||
| Card Quantity | Another easy one, how many copies of this card will be in your deck. This will print duplicates when Printing To Paper, but will append "_x#" to the end of your card name when Printing To PNGs. You don't need duplicate PNGs. |
||||||||||||||
| Property1 ... | This column, and all columns after this one (even ones with no header) should contain values for each of the tools in the ToolBox of your chosen Template. Image Panels require a relative location for an image. Assuming you put the Images folder in your working directory "Images/GreenBack.png" will work. Text Panels require the literal text you want in the space you designated in your chosen template. Since CSV files use a , as a delimiter, if you want an actual , in your text, you must add \, Similarly, adding a new line in your text requires you to type \n. The final escape character is for the " character, use \" so your software does not see it as an identifying character. There are also some Rich Text functions. Any text that wants to use the Rich Text fnctions must with \R.
Lastly, you Must put atleast a single space as the text value or the print functions will skip the field and likely cause issues with your card. |
Here is what I made:

Consider why I added \n after the Ranger and Warrior txt: Banner values.
Understanding this may help you be more creative in the future.
Step 5: Print your cards!
There are 2 options here, Print To PNGs or Print To Paper.Both can be found in the Print drop down at the top of Simple Card Maker.
Option 1: Print To PNGs
Print > Print To PNGs
A dialog will open allowing you to select your Deck CSV (for us, select RangerMageWarrior.CSV).
The software will automatically create a new folder for you with your deck name (ours will be RangerMageWarrior) and create a PNG file for
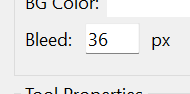
| each row in your CSV that has a 1 in the print column. These PNG files are 300 dpi, so they work perfectly with printing websites like makeplayingcards.com NOTE; makeplayingcards.com requires a 36px bleed area: |
 |
Print > Print To Paper
A dialog will open allowing you to select your Deck CSV (for us, select RangerMageWarrior.CSV).
The software will then generate 8.5x11 pages containing all the cards in your deck that have a 1 in the print column.
Then you will have the standard Print dialog, allowing you to select your printer.
For this tutorial, select "Microsoft Print to PDF", or any other PDF printer you may have.
Heck, print to a real printer if you want, it's up to you.
Step 6: Play your game
That's it!You have created your first deck of cards using Simple Card Maker.
Now, go make some awesome card games.
NOTICES:
NOTICE: There is next to no error checking. Like almost none. So if you type something dumb in your CSV, or in a field in the software itself, it will probably crash... You have been warned. Idiot proofing takes time, and it's just not worth it. You won't lose data because it's all in a CSV, just fix the erronious text and print again.NOTICE: I'm pretty sure you can print multiple sized cards in one Print To Paper action, but I have not tested it... it is also probably a waste of paper... just a little warning, you may wanna keep different sized cards to their own decks... or not, give it a shot and let me know.
NOTICE: Sometimes, this software will put a lock on your images, so if you are editing an image and printing from here, you may have to close Simple Card Maker before you can save your edited image, then reopen Simple Card Maker to print your deck again.
NOTICE: I have noticed that some software (eherm, Microsofts default photo viewer) don't like opening the PNGs made by this software. If you ever have this problem, just open it in MS Paint, and resave it. Also, resaving in MS Paint may reduce the size if an image is too large to upload to a printing site.
NOTICE: All sizes in this software are in inches. This is because printers use a dpi measurement, which is Dots Per Inch, so all the calculations are pixel per pixel matching the dpi for highest quality at 300dpi. 300dpi is the standard for high quality playing cards.
NOTICE: The print to paper function only prints to 8.5x11 pages. If you use a larger size paper, don't select fit to paper or it will skew your cards. The print function does not print more cards on larger paper, sorry, I am too lazy to make that happen right now.
TIP: You don't need to open a template if you just want to print your deck... just use the Print menu options immediately.
TIP: You can put multiple templates in one deck if you want. You are not stuck with one template. Just change the first column of your deck CSV to point to the various templates, and make sure your properties are filled out to match the template you selected for that card.
TIP: You can right click on a tool in the ToolList to move it up or down in the print order or to duplicate or delete it. Keep in mind, if you make this change after making your deck csv, you will want to alter the columns in your csv to reflect this change.
TIP: You may have noticed that Text Panels show red in the template view while Image Panels show blue and your selected tool is yellow. But, if you choose a background color that is too close to red, blue, or yellow, the tool that shows that color will display as green so it is still visible over your background.
TIP: When you print a deck, the cards are printed in the center of the page, so you can easily turn the page over in the printer and print the backs on with perfect alignment.
CHALLENGE: Make templates for each of the three cards to really polish the placement of the banner text (cause it looks bad now).